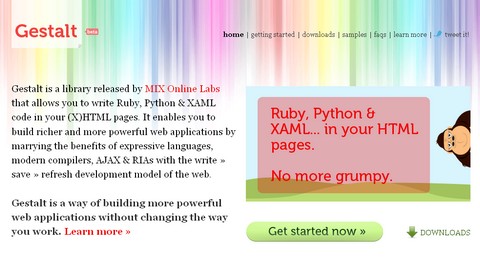
Gestalt is a library released by MIX Online Labs that allows you to write Ruby, Python & XAML code in your (X)HTML pages. It enables you to build richer and more powerful web applications by marrying the benefits of expressive languages, modern compilers, AJAX & RIAs with the write » save » refresh development model of the web.
For people to use the pages you write, they will need to have Silverlight installed on their machines. They harness the power of the Dynamic Language Runtime (DLR) to transparently compile any Ruby, Python & XAML blobs before running the scripts.
Requirements: Silverlight
Demo: http://visitmix.com/labs/gestalt/
License: MSPL License
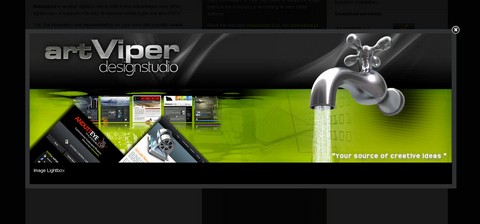
Bumpbox is another lightbox clone with a few advantages over other lightboxes – it supports not only all common media types but also PDF’s.
Yet, the integration and implementation on your own site is pretty simple. Just add the scripts to your head section, add classes to your links that should use bumpbox, define a rel tag with the size that the bumpbox should have and you’re ready to roll.
Bumpbox automatically detects what kind of filetype you wish to show in the box, so you do not need to specify the type, easing the process of integration.
Requirements: Mootools Framework 1.2
Demo: http://www.artviper.net/bumpbox.php
License: License Free
As security expert Bruce Schneier said recently, password masking is not a panacea. Finding a solution that provides both security and usability is the goal.
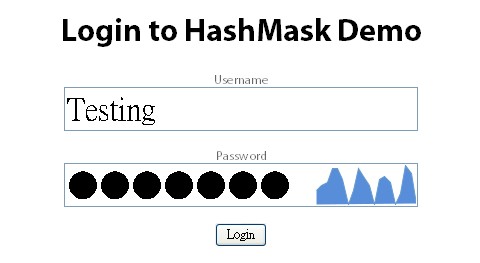
HashMask is a jQuery plugin that will produce a unique and non reversible visualization of a users password. The hope being that they would be able to confirm that they entered their password correctly, but no one else would. It also degrades gracefully so that users without javascript or a poor browser (IE6) will just see a password field.
Technically speaking, it uses a subset of the sha1 hash of the password as the seed for the sparkline’s shape and color. It should be relatively safe from reverse engineering as a result. There is the potential to estimate a possible range of characters of the first section of the hash, but overall this should be a extremely low risk.
Requirements: Javascript Enabled
Demo: http://lab.arc90.com/2009/07/hashmask.php
License: BSD License
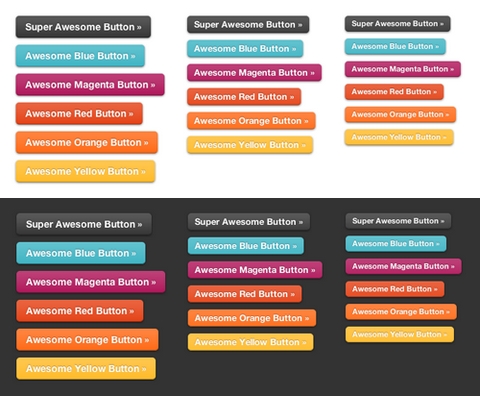
One of great things about CSS3 is the addition of RGBA, a color mode that adds alpha-blending to your favorite CSS properties. ZURB has kicked the tires on it a bit with their own projects and have found that it helps streamline their CSS and makes scaling things like buttons very easy. To show you how, ZURB has cooked up an example of some Super Awesome Buttons with CSS3 and RGBA.
With a little CSS3 magic, we can create a scalable set of buttons with nearly half the CSS it would have taken with hex colors. Give it a go in your next project and see how it can help add that extra polish you want without huge impact on your code.
Requirements: CSS3
Demo: http://www.zurb.com/blog_uploads/0000/0401/buttons-01.html
License: License Free
You have a small area. You mouse over it. An area pops up giving you a zoomed in closer look. AnythingZoomer is a jQuery plugin that does it.
It’s flexible in many ways, in that the “smallâ€, “largeâ€, and “zoom†areas are all pretty easy to customize via CSS. It’s inflexible in other ways, in that it doesn’t “automatically†work by cloning content or anything like that (which is arguably more flexible), and the HTML structure is fairly rigid.

Requirements: jQuery Framework
Demo: http://css-tricks.com/examples/AnythingZoomer/
License: License Free
The 3D Stack Flash component displays images in a 3D stack formation. Images can be defined through XML, in the Component Inspector, ActionScript, or from a Flickr feed. The stack’s direction can be linear or curved with customizable angles, blur and spacing. Over 70 parameters to customize the look and feel.
There is a built-in Flickr support by simply entering the URL of the Flickr RSS feed. There are option to customize animation, borders, blur, spacing, positioning, rollover zoom, reflections and drop shadows.
The 3D Stack Flash component can also be scrolled by clicking and dragging the mouse up and down on the stage. Mousewheel scrolling can be optionally enabled. The optional scrollbar is skinnable. The preloader, font and text are fully customizable.
Flashloaded is very kind to giveaway 5 copies of 3D Stack ($59.95/each) for Free to our readers. Simply tweet about this post or leave a comment about how you would use this 3D Stack on your website, you can have a chance taking this 3D Stack Flash component away for FREE. We will draw the winners and announce it on 1st August 2009. Thank you for all of the participants in advance.

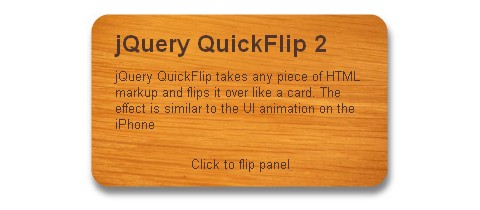
QuickFlip is a jQuery plugin that uses a CSS trick to cause a div, paragraph or any other piece of HTML markup to flip like a card. QuickFlip uses two panels: a front and a back. When a flip occurs, the front panel is split in half with Javascript. The right and left halves slide into one another, and afterwards the opposite occurs with the back panel.
QuickFlip 2 is now even easier to implement. The new script pulls in and applies the necessary styling, so there is no need to include a QuickFlip stylesheet or to define the dimensions of the panel you’re flipping.
Additionally, QuickFlip 2 makes triggering the flip effect much simpler due to a new flip function that can be attached to any jQuery selector. Finally, the QuickFlip plugin has been performance-tuned and is running pretty quickly.
Requirements: jQuery Framework
Demo: http://jonraasch.com/blog/quickflip-2-jquery-plugin
License: FreeBSD License
BuildInternet has done some research with the help of Google and WhatTheFont, in order to create a list of Fonts Used In Logos of Popular Websites, e.g. Twitter, Digg, Vimeo, Tuts+ Network, Last.fm, Technorati , Flickr, Youtube and etc… You might find this article useful when creating the logo for your own website as well.

Source: Fonts Used In Logos of Popular Websites
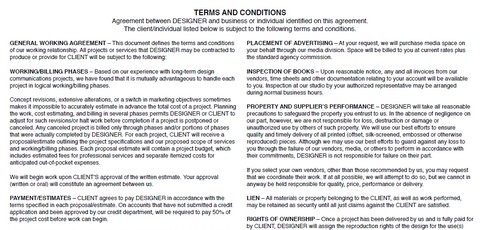
Using the right forms and freelance design contracts is critical for today’s designers, whether you are a freelancer or work in a firm. There are some useful Freelance Design Contracts and Templates provided by Jason Vaughn of CreativePublic.
You can find SEO Submission Form, Sales Rep. Contract, Art Approval Sheet, Invoice, Creative Strategy, Print Questionnaire, Terms and Conditions and more. You can customize and add your own logo on those templates.
You will need Adobe Illustrator to alter or change the current forms. If you don’t have Adobe Illustrator, you can use Macromedia Freehand to customize these files to fit your needs. For those that do not have Adobe Illustrator, PDF files have been created for printing and viewing. However, you will not be able to alter the look and feel.
Source: http://www.sessions.edu/for-students/career-center/tools-quizzes/business-templates
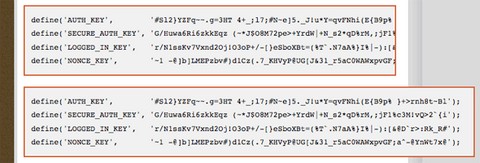
On blogs that like to share snippets of code, it is common to use the <pre> tag to wrap the code so that the spacing/indenting is maintained and long lines do not wrap. While this is desirable behavior, it can be undesirable to have those un-wrapped lines break out of their containers awkwardly and overlap other content.
On Digging Into WordPress, they taught us How to Make an Expanding Code Box by using JavaScript (jQuery) to solve this problem. One solution could potentially be to use only CSS and expand the width with something like pre:hover, but JavaScript is more elegant. It expands only when needed. It expands only to as wide as needed. And also, it expands with animation.
Requirements: jQuery Framework
Demo: http://diggingintowordpress.com/2009/07/making-an-expanding-code-box/
License: License Free


